Drawing a baseball hat can seem tricky at first. But with simple steps, it’s easy.
In this guide, you’ll learn how to draw a baseball hat quickly and easily. Whether you’re a beginner or just looking to improve your drawing skills, this step-by-step tutorial is perfect. We’ll break down the process into easy-to-follow stages. By the end, you’ll have a detailed and realistic drawing.
So, grab your pencil and paper, and let’s start drawing a baseball hat together. Ready to create something awesome? Let’s dive in!
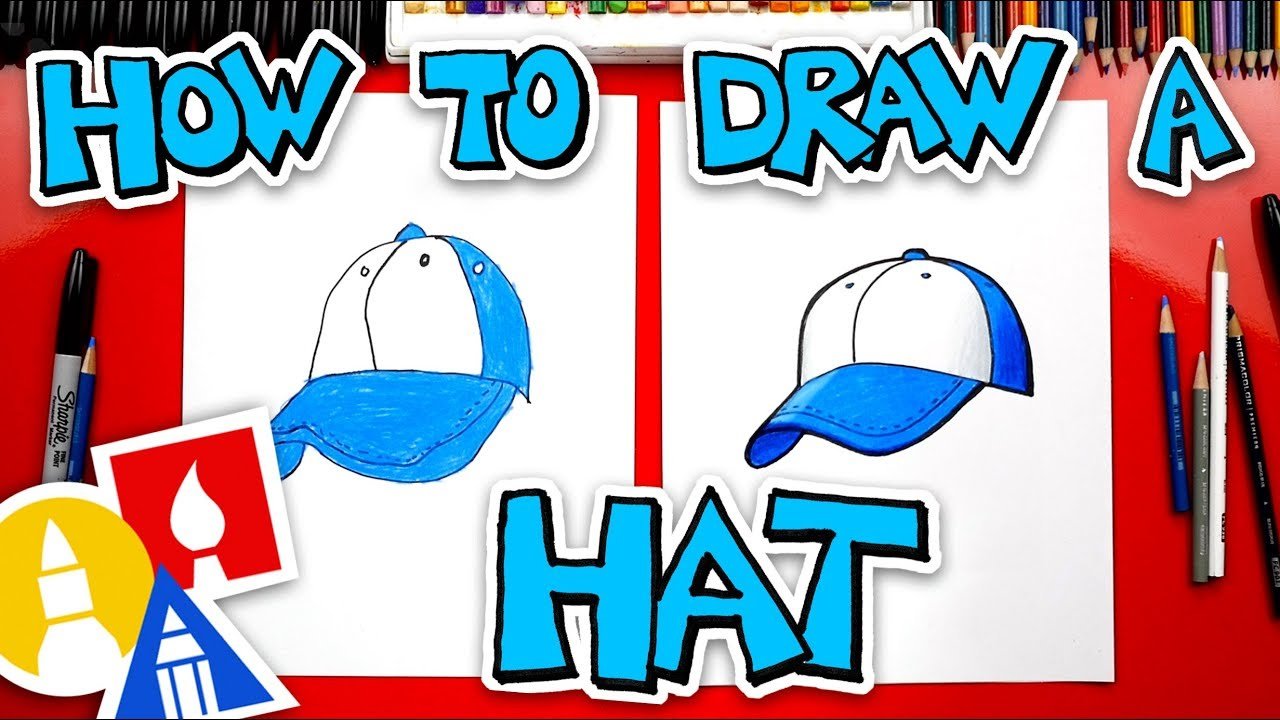
Credit: howtodrawforkids.com
Materials Needed
Drawing a baseball hat can be fun and rewarding. To get started, you need the right materials. Here, we will discuss the essential tools for this art project. Let’s dive in!
Pencils And Erasers
The first tools you need are pencils and erasers. Choose a set of pencils with different hardness levels. A 2H pencil is great for light sketching. For darker lines, use a 2B pencil. Erasers are also crucial. A kneaded eraser works well for lightening lines. A regular eraser is perfect for clean corrections.
Paper Type
The type of paper you use matters. Choose a smooth, high-quality sketch paper. This helps your pencil glide easily. Avoid thin paper as it can tear. A thicker paper can handle more erasing and shading.
Optional Tools
Some optional tools can enhance your drawing. A ruler helps with straight lines. A blending stump is great for shading. If you want more detail, use a fine-tip pen. These tools are not necessary but can improve your art.
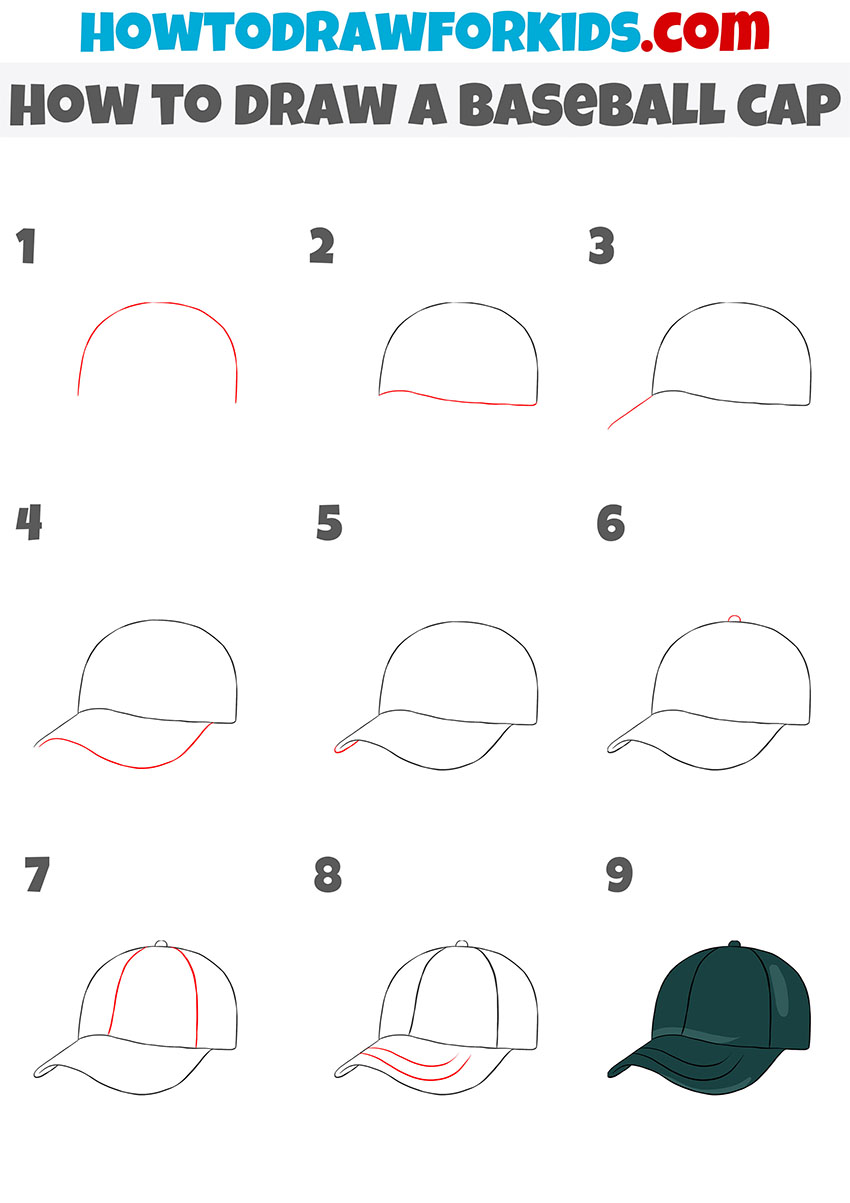
Basic Hat Shape
Drawing a baseball hat starts with understanding its basic shape. A baseball hat consists of two main parts: the cap and the visor. These elements give the hat its unique look. Let’s break down each part step-by-step.
Drawing The Cap
The cap is the round part that fits on the head. Follow these steps to draw it:
- Begin with a simple oval shape. This will be the top of the cap.
- Draw a curved line from one side of the oval to the other. This line should follow the shape of the oval.
- Extend two lines down from the bottom of the oval. These lines will form the sides of the cap.
- Connect the ends of these lines with a curved line. Now, you have the basic shape of the cap.
Make sure the cap looks rounded and smooth. This will help it look realistic.
Outlining The Visor
The visor is the part of the hat that sticks out from the front. Follow these steps to outline it:
- Start by drawing a straight line from the bottom center of the cap. This line should be short.
- Next, draw a slightly curved line that extends outward from each end of the straight line. These lines should be equal in length.
- Connect the ends of these curved lines with another curved line. This line should follow the curve of the cap.
- Now, you have the outline of the visor.
The visor should look like it is attached to the cap. This gives the hat its finished look.
Adding Details
Once you have the basic shape of your baseball hat, it’s time to add those important details that make it stand out. This step is crucial in making your drawing look more realistic and appealing. We’ll cover two main areas: creating stitch lines and designing the logo.
Creating Stitch Lines
Stitch lines add a touch of realism to your baseball hat drawing. They show where the pieces of fabric are sewn together. Follow these steps:
- Draw parallel lines along the hat’s brim.
- Make sure the lines are evenly spaced.
- Add curved lines on the top part of the hat.
- These lines should follow the hat’s shape.
These details help to define the hat’s structure. They give it a three-dimensional look. Don’t worry about making them perfect. Natural, slight variations add authenticity.
Designing The Logo
The logo is often the most distinctive feature of a baseball hat. It gives the hat personality. Follow these tips:
- Choose a simple design that fits the hat.
- Start with basic shapes like circles, squares, or letters.
- Place the logo in the center of the front panel.
- Use light pencil strokes to sketch the outline.
- Once you’re happy with the shape, darken the lines.
A well-designed logo can make your hat drawing pop. It draws the viewer’s eye and adds a professional touch. Keep it simple but bold for the best effect.
Shading Techniques
Understanding shading techniques is essential for making your baseball hat drawing look realistic. Shading adds depth, dimension, and texture, bringing your artwork to life. This section will cover light and shadow and texture creation to help you achieve a more dynamic illustration.
Light And Shadow
Shading starts with identifying the light source. Decide where the light is coming from. This will determine where the shadows fall. Draw light lines to mark the areas that will be illuminated.
Next, add shadows to the opposite side of the light source. Use soft, even strokes to create a gradient effect. The darkest areas should be directly opposite the light source. Gradually lighten your strokes as you move toward the light.
Pay attention to the hat’s curves. Shadows should follow the natural shape of the hat. This gives it a three-dimensional look.
Texture Creation
To make the hat look more realistic, add texture. Use short, quick strokes to create the appearance of fabric. Vary the direction of your strokes to mimic the weave of the material.
For a more detailed effect, use a fine-tip pencil or pen to add small, intricate lines. This can represent stitching or wear on the hat. Be consistent with the direction and spacing of your lines to maintain a realistic texture.
Adding highlights is equally important. Use an eraser to lighten small areas where the light hits directly. This creates a contrast that enhances the overall texture.
Here’s a quick tip:
- Use a blending stump to smooth out harsh lines.
- Layer your shading to build up depth gradually.
- Always step back and look at your drawing from a distance to check the balance of light and shadow.
Mastering these shading techniques will significantly improve the realism of your baseball hat drawing. With practice, you can make your illustrations stand out.
Coloring The Hat
After sketching your baseball hat, it’s time to add some color. This step brings your drawing to life and makes it pop. Let’s dive into how you can choose the right colors and blend them effectively.
Choosing Colors
Picking the right colors is crucial. Think about the style of the hat. Is it a team hat? If yes, use the team’s colors. If it’s a casual hat, you can get creative. Here are some tips:
- Bold Colors: Use bold colors for a striking look.
- Pastel Shades: Choose pastel shades for a softer appearance.
- Match with Outfit: Consider matching the hat color with the outfit.
Blending Techniques
Blending colors can add depth and dimension to your drawing. Follow these steps for perfect blending:
- Layering: Start with a light layer of the base color.
- Gradual Pressure: Apply gradual pressure to create a smooth gradient.
- Use Multiple Colors: Combine different shades for a realistic effect.
- Blending Tools: Use blending tools like a soft brush or a blending stump.
By choosing the right colors and mastering blending techniques, your baseball hat drawing will stand out. Remember to practice and experiment with different styles. Happy drawing!

Credit: www.youtube.com
Final Touches
Adding final touches to your baseball hat drawing can make a big difference. These small details can make your sketch look more realistic and polished. Let’s focus on refining edges and highlighting.
Refining Edges
Start by examining the edges of your baseball hat. Use a sharper pencil for clean lines. This will make your drawing stand out.
Check the brim and the top of the hat. Ensure the lines are smooth and even. You can use a ruler for straight edges.
Next, look at the curves. Soft, rounded edges can make the hat look more realistic. Take your time. Small adjustments can make a big difference.
Highlighting
Highlights can add depth to your drawing. Use an eraser to create light spots.
Think about where the light hits the hat. The top and brim usually have the most light. Gently erase these areas to create a highlight.
Don’t overdo it. Too many highlights can look unnatural. Focus on the key areas. This will give your hat a more three-dimensional look.
Adding final touches can be fun. It brings your baseball hat drawing to life. Take your time, and enjoy the process!
Common Mistakes
Drawing a baseball hat can be fun and challenging. Many artists, both beginners and experienced, tend to make similar mistakes. These errors can affect the final look of the hat. Understanding these common mistakes can help you improve your drawing skills.
Proportion Issues
One frequent mistake is getting the proportions wrong. The hat can appear too big or too small. Focus on the size of the hat in relation to the head. Ensure the brim is not too wide. The crown should not be too tall or too short. Check the hat’s angle on the head. It should look natural and fit well. Drawing guidelines can help maintain correct proportions. Practice will make this easier over time.
Incorrect Shading
Shading brings life to your drawing. Incorrect shading can make the hat look flat. Pay attention to the light source. The shadows should be consistent with the light direction. The brim and the crown should have different shades. This adds depth to your drawing. Use soft strokes for light areas. Darken the areas where the hat curves or folds. Proper shading will make the hat look more realistic.

Credit: www.pinterest.com
Practice Tips
Practicing is key to improving your drawing skills. If you want to draw a baseball hat well, you need to practice regularly. Here are some tips to help you.
Daily Sketching
Make a habit of sketching daily. Even if it’s just for 15 minutes. Draw a baseball hat from different angles. Use photos or real hats as references. This will help you understand the shape and details better.
Here are some ideas for daily sketches:
- Side view of a baseball hat
- Front view of a baseball hat
- Top view of a baseball hat
- Back view of a baseball hat
Keep a sketchbook. Fill it with drawings of baseball hats. Look back at your sketches to see your progress. You’ll be amazed at how much you improve over time.
Seeking Feedback
Feedback is essential for growth. Show your drawings to others. Ask for constructive criticism. This helps you know what you’re doing well and what needs improvement.
Here are some ways to get feedback:
- Join an online art community
- Share your work on social media
- Ask friends or family for their opinions
- Take a drawing class and share with the instructor
Don’t be afraid of negative feedback. Use it to learn and get better. Remember, every artist started where you are now. Keep practicing and seeking feedback. Your skills will improve.
Frequently Asked Questions
How Do You Start Drawing A Baseball Hat?
Start by sketching a simple oval for the top. Add a curved line for the brim.
What Tools Are Needed To Draw A Baseball Hat?
You need a pencil, eraser, paper, and coloring tools. Optional: a ruler for precise lines.
How Do You Add Details To The Hat?
Draw stitching lines on the brim and top. Add the logo or design for personalization.
How Do You Shade A Baseball Hat?
Use light strokes for shading. Darken areas where shadows naturally fall, like under the brim.
Conclusion
Drawing a baseball hat can be fun and simple. Follow the steps carefully. Practice makes perfect. With time, your skills will improve. Soon, you’ll create amazing hats with ease. Remember, patience is key. Don’t rush the process. Enjoy each step.
Share your drawings with friends. Inspire others to draw too. Happy drawing!