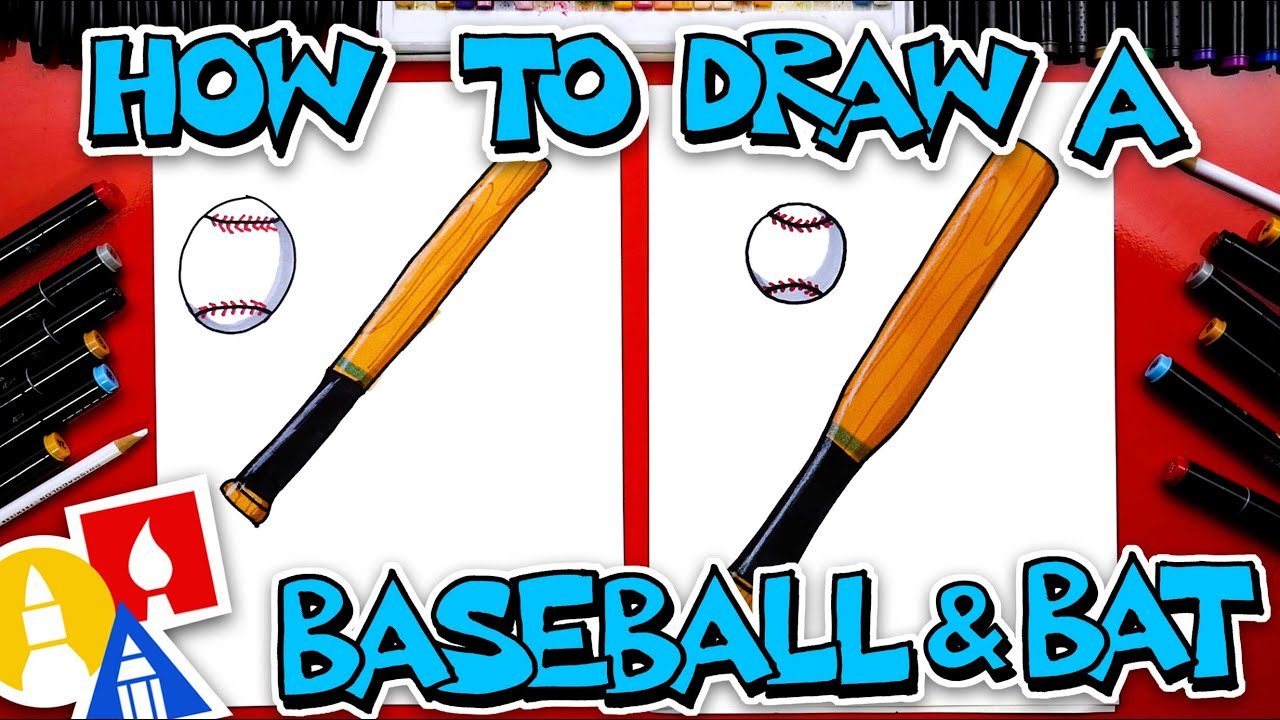
Drawing a baseball bat may seem tricky. But it’s easier than you think.
With a few simple steps, you can create a realistic bat. Baseball is a popular sport, and its equipment is iconic. A baseball bat is one such piece of equipment that many people love. Whether you are an artist or just someone who enjoys drawing, learning to sketch a baseball bat can be fun.
This guide will break down the process into easy-to-follow steps. You do not need to be an expert. Just grab your pencil and paper, and let’s get started. By the end of this post, you will have a great drawing of a baseball bat. Ready to draw? Let’s dive in!

Credit: www.youtube.com
Materials Needed
Before starting to draw a baseball bat, gather the necessary materials. Having the right tools and references will make the process easier and more enjoyable.
Drawing Tools
To create a detailed and accurate drawing, you need the right drawing tools. Here is a list of essential tools:
- Pencil – A standard HB pencil works well for sketching.
- Eraser – A kneaded eraser helps to correct mistakes.
- Sharpener – Keep your pencil sharp for fine lines.
- Ruler – Use a ruler for straight lines and measurements.
- Paper – Use a smooth, high-quality drawing paper.
These tools will help you draw clean and precise lines.
Reference Images
Using reference images is crucial for drawing a realistic baseball bat. Here are some tips on finding good reference images:
- Search for high-quality images online.
- Look at different angles to understand the bat’s shape.
- Study real-life photos for accurate details.
Reference images provide a clear idea of what your drawing should look like.
With the right materials, you are ready to start drawing your baseball bat. Gather your tools and find good reference images to guide your work.
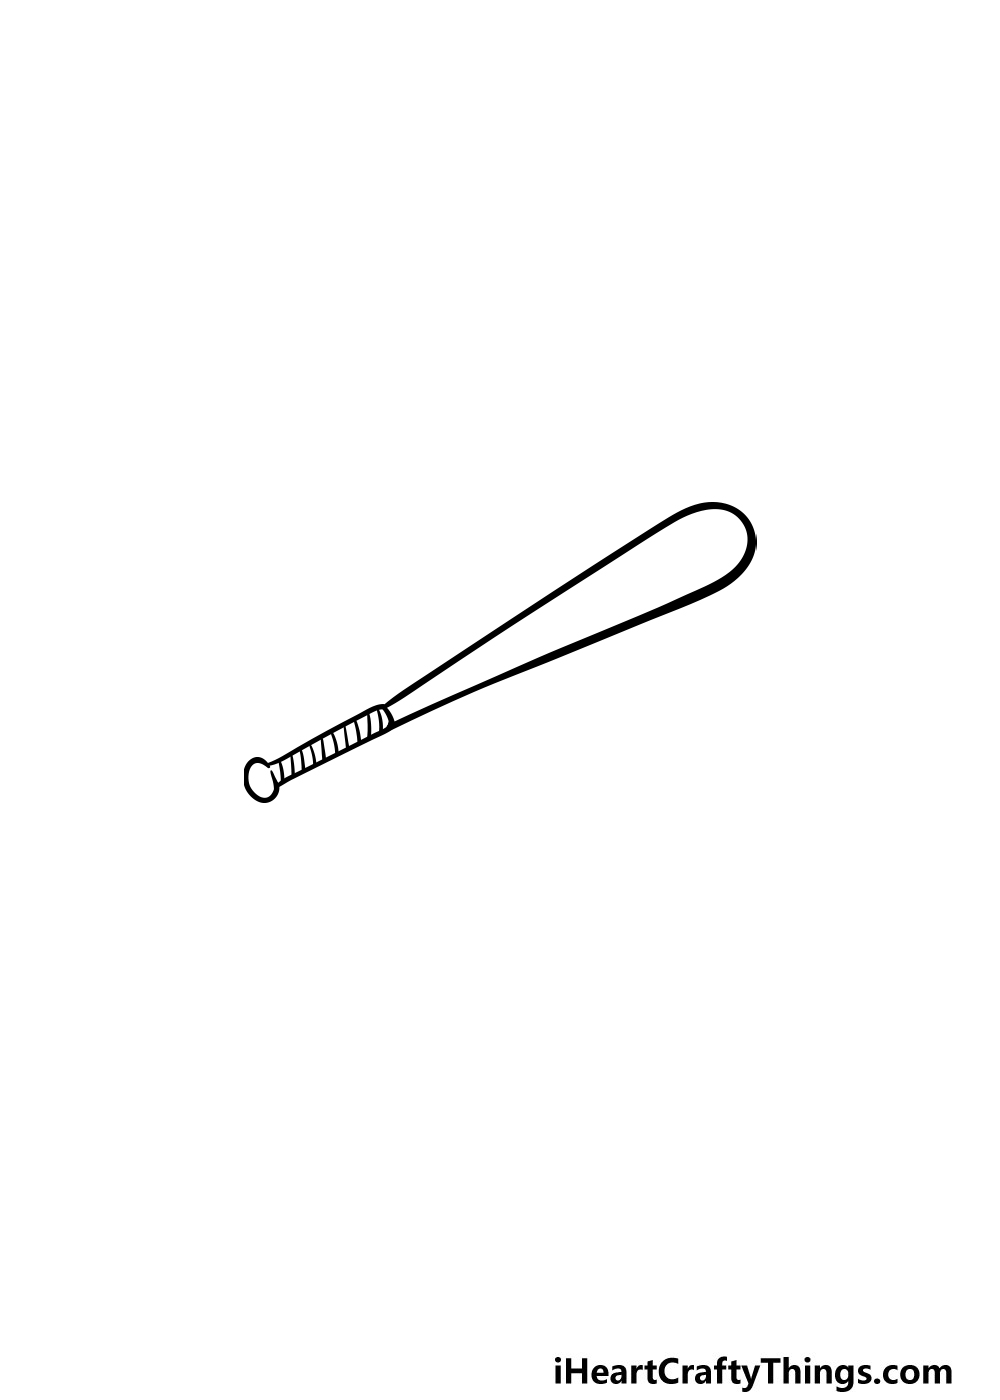
Basic Shapes
Drawing a baseball bat begins with understanding its basic shapes. This guide will help you break down the bat into simple parts, making it easier to draw. Let’s start with the handle and then move on to the barrel.
Drawing The Handle
The handle is the thin part of the bat. To draw the handle:
- Draw a long, narrow rectangle.
- Make sure the rectangle is vertical.
- The top of the rectangle should be slightly rounded.
This rectangle forms the grip area. Keep the lines straight for now. We’ll add details later.
Adding The Barrel
The barrel is the thicker part of the bat. To add the barrel:
- Extend the bottom of the handle with a wider shape.
- Use an oval or rounded rectangle.
- Make sure it’s wider at the bottom than the handle.
This gives the bat its classic shape. Connect the barrel to the handle smoothly.
Now, you have the basic structure of a baseball bat. Next, you will add finer details and refine the shape. Practice these steps to get comfortable with the basic shapes.
Refining The Shape
Refining the shape of your baseball bat drawing is an essential step. It transforms a basic sketch into a more realistic image. In this section, you’ll learn how to smooth the outline and define the taper of your baseball bat.
Smoothing The Outline
Start by examining your bat’s outline. It should be smooth and even. Erase any rough or jagged lines. Redraw them gently and steadily. Use light strokes for better control. This helps in creating a more polished look. A smooth outline is key to a realistic drawing.
Defining The Taper
The taper of the bat is the gradual narrowing from the barrel to the handle. Focus on this part next. Begin at the barrel and work towards the handle. Ensure the transition is gradual. The taper should look natural. This gives the bat its characteristic shape. Pay close attention to proportions. The taper should not be too sharp or too gentle. Balance is crucial for a realistic appearance.
Adding Details
Once you have the basic shape of your baseball bat, it’s time to add details. These details bring your drawing to life, making it look more realistic and interesting. In this section, we will focus on adding the essential elements like the knob and barrel ridges. Follow these steps to enhance your baseball bat drawing.
Drawing The Knob
The knob is located at the bottom end of the bat. It helps with grip and balance. Here’s how to draw it:
- Draw a small circle at the bottom end of the bat.
- Connect the circle to the bat’s handle with two short lines.
- Ensure the lines curve slightly outward to create a realistic knob.
Tip: Keep the knob size proportionate to the bat. It should not be too large or too small.
Creating The Barrel Ridges
The barrel ridges add texture and detail to your bat. These ridges are found near the top end of the bat. Follow these steps:
- Draw three or four horizontal lines near the top of the bat.
- Ensure the lines are evenly spaced to create a uniform look.
- Make the lines slightly curved to match the bat’s contour.
Tip: Use light pressure while drawing the ridges. You can darken them later if needed.
Adding these details will make your baseball bat drawing more realistic and visually appealing. Practice these steps to improve your skills.
Shading Techniques
Shading can bring your baseball bat drawing to life. It adds dimension and realism. By using various shading techniques, you can make your baseball bat look three-dimensional. In this section, we will focus on two key aspects: light source placement and creating depth.
Light Source Placement
The light source is where the light comes from. It affects where the shadows fall. Choose a direction for your light source. Imagine the light hitting the bat. This will help you decide where to add light and dark areas. For a natural look, have the light come from above.
Keep this light source consistent. If the light source is from the top left, the shadows will be on the bottom right. This rule helps create a realistic look. Draw light lines to mark the light source if needed. This guide will help you shade correctly.
Creating Depth
Depth makes your drawing look three-dimensional. Start with light shading. Use a pencil to lightly shade the areas away from the light source. Gradually add darker tones. Use a blending tool or your finger to smooth the shades. This technique adds a gradual transition from light to dark.
Use cross-hatching for a different effect. Draw lines in one direction. Then, draw lines in the opposite direction over them. This method works well for texture. Blend the lines slightly for a softer look. Remember to keep the darkest shades in areas farthest from the light source.
Another tip is to use an eraser for highlights. Lightly erase parts where the light hits directly. This adds a shiny effect. It makes the bat look polished and realistic. Practice these techniques to improve your shading skills.
Highlighting Areas
Highlighting areas on your baseball bat drawing can make it look more realistic. Proper highlights bring out the shape and texture, making your bat pop. Let’s explore how to add highlights and emphasize texture.
Adding Highlights
Start by choosing the light source for your drawing. This will guide where you place the highlights. For a simple approach, imagine the light coming from above.
- Use a lighter shade to create highlights.
- Focus on the top and sides of the bat.
- Blend the highlights smoothly into the base color.
Highlights should be subtle. Avoid harsh lines. This keeps the bat looking natural.
Emphasizing Texture
A baseball bat is not a smooth object. It has a wooden texture. To emphasize this, use short, light strokes with your pencil or brush.
- Draw small lines to mimic wood grain.
- Vary the pressure to create different textures.
- Use a darker shade to add depth to the texture.
Adding texture makes the bat look more detailed. It adds realism to your drawing. Pay attention to the grain direction. This follows the length of the bat.
Final Touches
After laying down the basic structure of your baseball bat, the final touches are essential. These steps will bring your drawing to life. They will make it look polished and professional. Focus on cleaning up lines and enhancing details.
Cleaning Up Lines
Start by erasing any unnecessary lines. Clean up the rough edges. Ensure the outline of the bat is smooth and clear. This step is crucial. It helps to define the shape better.
Use a good quality eraser. It should not smudge your drawing. Be gentle to avoid tearing the paper. A kneaded eraser works well for fine-tuning small areas.
Enhancing Details
Now, add fine details to your baseball bat. Draw the wood grain texture. This gives a realistic look. Lightly sketch lines along the bat’s length. Vary the pressure for a natural appearance.
Don’t forget the handle. Add grip lines. These lines should be even and curved slightly. It makes the handle look round.
Finally, add shading to give depth. Use a soft pencil for smooth shading. Focus on areas where light would naturally hit. This will create a three-dimensional effect.
| Step | Action |
|---|---|
| 1 | Erase unnecessary lines |
| 2 | Define the outline |
| 3 | Add wood grain texture |
| 4 | Draw grip lines on the handle |
| 5 | Shade for depth |
Remember, practice makes perfect. Keep refining your drawing skills. Soon, you’ll create amazing baseball bat illustrations.

Credit: helloartsy.com
Common Mistakes
Drawing a baseball bat might seem simple, but many make common mistakes. These errors can result in a bat that looks odd or unrealistic. Understanding and avoiding these mistakes will help you create a more accurate drawing.
Avoiding Proportional Errors
One common mistake is getting the proportions wrong. The bat’s handle should be thinner than the barrel. Some draw both parts too similar in width. This results in an awkward look. Measure the handle and barrel carefully. Use a reference image if needed. This ensures the bat looks balanced.
Correcting Shading Issues
Shading can add depth to your drawing. But improper shading can ruin it. Many people make the mistake of shading too heavily or too lightly. This makes the bat appear flat or unrealistic. Start with light shading. Gradually build up the darker areas. Pay attention to light sources. This helps create a more lifelike appearance.
Credit: iheartcraftythings.com
Frequently Asked Questions
What Materials Do You Need To Draw A Baseball Bat?
To draw a baseball bat, you need paper, pencils, an eraser, and a ruler. Optionally, use colored pencils or markers for detailing.
How Do You Start Drawing A Baseball Bat?
Begin by drawing a long, straight line for the bat’s length. Add a curved top for the barrel and a small rectangle for the handle.
What Are The Key Features Of A Baseball Bat?
Key features include the barrel, handle, and knob. The barrel is thicker, the handle is thin, and the knob prevents slipping.
Can Beginners Draw A Baseball Bat Easily?
Yes, beginners can draw a baseball bat easily by following simple steps. Use basic shapes and guidelines.
Conclusion
Drawing a baseball bat is easier with practice. Follow each step carefully. Use simple shapes to outline the bat. Add details gradually to make it look realistic. Remember, patience is key. Mistakes are part of learning. Keep practicing and you will improve.
Share your drawings with friends for feedback. Enjoy the process and have fun drawing!