To draw a baseball, start with a circle. Add details like stitches.
Drawing a baseball can be fun and easy. Whether you’re a beginner or an experienced artist, this guide will help you create a realistic baseball. You will learn simple techniques to capture the round shape and the unique stitching. With just a few steps, you can bring a baseball to life on paper.
Grab a pencil and some paper, and let’s get started on this creative journey. Drawing can be relaxing and enjoyable, so take your time and enjoy the process. By the end, you’ll have a great drawing to show off. Ready? Let’s dive in!
Introduction To Drawing A Baseball
Drawing a baseball might seem simple. But capturing its details can be tricky. This guide will help you draw a baseball step-by-step. You will learn the basics and the materials needed. Let’s get started!
Importance Of Learning Basics
Understanding the basics is key. It helps you draw accurately. A baseball has unique features. Learning these features makes your drawing look real.
The seams and round shape are important. Drawing them right adds realism. Practice the basics first. This will make advanced drawings easier.
Materials Needed
Gather your materials before starting. You’ll need a few simple items. These include paper and a pencil. An eraser is also helpful.
Colored pencils or markers can add detail. Use them for the seams and shading. A ruler can help with straight lines. Keep your materials handy for easy access.
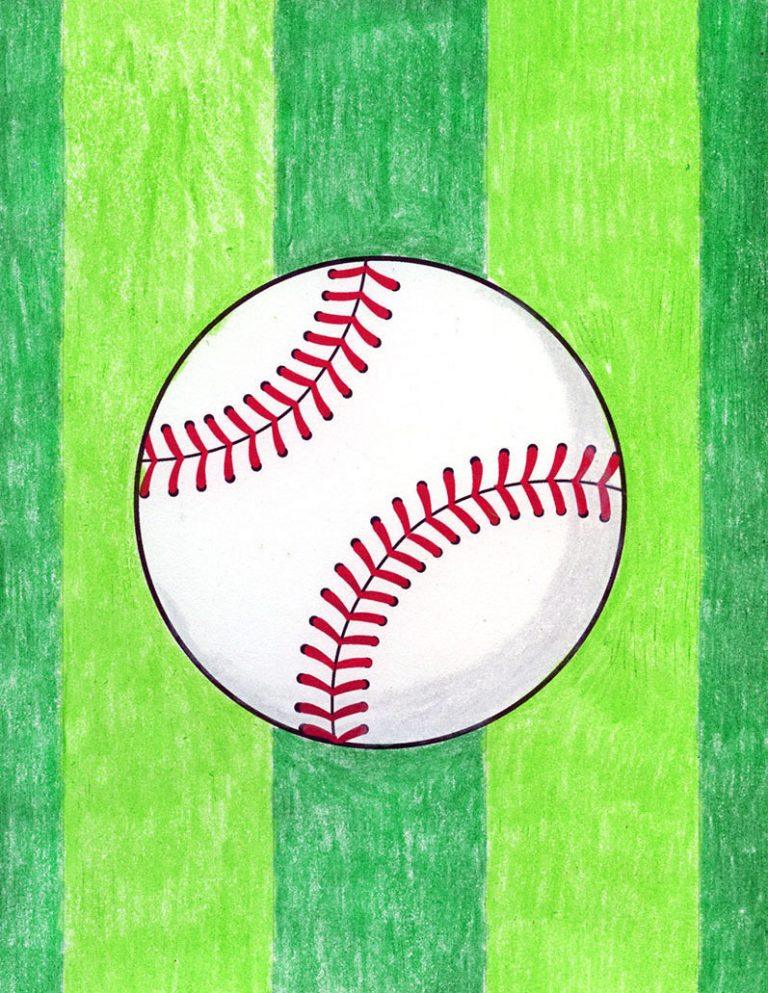
Credit: artprojectsforkids.org
Starting With Basic Shapes
Drawing a baseball can be a fun and rewarding experience. It all starts with mastering the basic shapes. Beginning with simple forms, you can build up your drawing step by step. This approach makes the process easier and more manageable.
Drawing The Circle
To draw a baseball, start with a perfect circle. Use a compass or trace around a round object for accuracy. This circle will be the base of your baseball drawing. Ensure the circle is smooth and even. A well-drawn circle sets the foundation for a realistic baseball. If the circle is off, the whole drawing may look odd. So, take your time with this step.
Adding The Centerline
Next, add a centerline to your circle. This line helps to position the baseball’s details correctly. Draw a straight line across the middle of the circle. Make sure the line is light and can be erased later. The centerline divides the circle into two equal halves. This step is crucial for drawing the baseball’s seams accurately. With the centerline in place, you can move on to adding more details.
Creating The Stitching Pattern
Creating the stitching pattern on a baseball can be an enjoyable and rewarding part of your drawing. The stitching adds character and realism to your baseball drawing. Follow these steps to create an accurate and visually appealing stitching pattern.
Understanding Baseball Stitching
Baseball stitching involves two sets of stitches that run along the seams. These stitches are often red and stand out against the white surface of the ball. The stitches form a distinct pattern that gives the baseball its unique look.
To draw the stitching, you need to understand the placement and the direction of the stitches. The stitches curve around the ball in a figure-eight pattern. This pattern can be tricky, but breaking it down into steps makes it easier.
Drawing The First Set Of Stitches
Start with the first set of stitches. Draw a curved line from one side of the ball to the other. This line will serve as the base for the first set of stitches.
Next, draw short, angled lines along the curved line. These lines should be evenly spaced and point toward the center of the ball. They should also be slightly curved to match the contour of the ball.
Continue adding these short, angled lines until you complete the first set of stitches. Make sure they follow the curve of the main line.
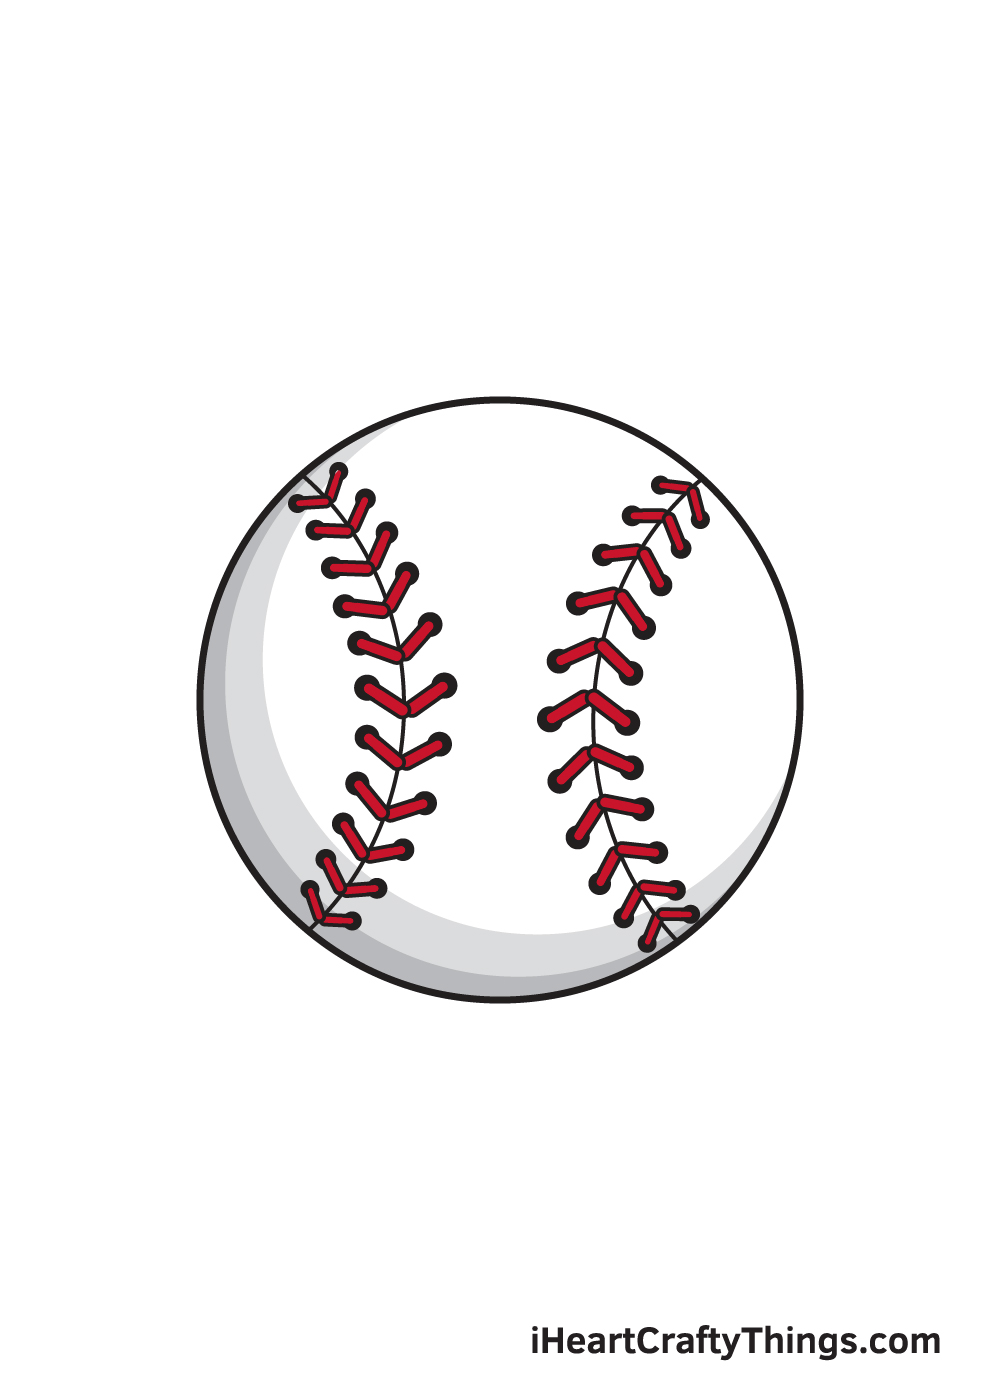
Credit: iheartcraftythings.com
Adding Detail To The Stitches
Adding detail to the stitches makes your baseball drawing look realistic. Sketch small, evenly spaced lines along the seams. This mimics the thread pattern and adds depth to your artwork.
Adding detail to the stitches is crucial to make your baseball drawing look realistic. This step involves careful attention to the stitching pattern and refining the lines. Follow these simple steps to add detailed stitches to your baseball drawing.
Drawing The Second Set Of Stitches
First, draw the second set of stitches opposite the first set. Start by drawing small, curved lines. These lines should mirror the first set. Keep the curves consistent for a uniform look. Space the stitches evenly around the baseball. This creates a balanced appearance. Next, ensure the second set intersects the first set. This creates the classic baseball stitch pattern. Draw the curves in the same direction as the first set. This adds depth and realism to your drawing.
Refining The Stitch Lines
Now, refine the stitch lines for a cleaner look. Go over each stitch with a sharper pencil or pen. This makes the lines stand out. Erase any stray marks to keep the drawing neat. Check the length of each stitch. They should be short and uniform. Adjust any that look too long or short. This step ensures a consistent stitch pattern. Finally, add small details to the stitches. Draw tiny dots at the ends of each stitch. This mimics the thread knot found in real baseballs. These small details enhance the overall realism of your drawing. By following these steps, your baseball drawing will look more professional.
Shading And Texturing The Baseball
To draw a realistic baseball, start by shading the round surface. Add texture to mimic the leather material and stitches. This step will bring depth and authenticity to your drawing.
Drawing a baseball involves more than just outlining its shape. To make it look realistic, shading and texturing are essential steps. This will give your drawing depth and a lifelike feel. Here, we will discuss basic shading techniques and how to add texture.
Basic Shading Techniques
Start by identifying the light source in your drawing. This helps determine where the shadows will fall. Use a soft pencil to shade the darker areas. Apply light pressure to create lighter shades. Gradually build up the darkness by layering. This makes the shading look smooth and natural. Use the side of the pencil for broad shadows. For fine details, use the tip. Keep the strokes consistent in one direction. This helps create a uniform look. Remember to blend the edges of the shadows. This avoids harsh lines and makes the shading seamless.
Adding Texture For Realism
A baseball has a unique texture. To replicate this, focus on the stitching. Draw small, curved lines along the seams. These lines should be darker than the surrounding areas. This adds depth. Next, add subtle dots and tiny lines on the baseball’s surface. This mimics the leather texture. Use a fine-tip pencil for this task. Ensure the marks are random yet consistent. This makes the texture look natural. Finally, blend these textures lightly. This softens the edges and integrates them into the shading. Your baseball drawing will now have a realistic appearance. With practice, these techniques will become second nature. “`
Review And Adjustments
Once you have sketched your baseball, it’s time to review and make adjustments. This step ensures your drawing looks accurate and realistic. The review helps you identify any areas that need fine-tuning. Adjustments will refine the overall appearance of your baseball.
Checking Proportions
First, check the proportions of your baseball. Compare the size of the stitches to the ball. They should be evenly spaced and consistent in size. If they look off, erase and redraw them. Ensure the round shape of the ball is symmetrical. Use a ruler if needed to measure and correct any irregularities.
Making Final Adjustments
Next, focus on the details. Enhance the stitches by adding shading or thickness. Look at the overall drawing and adjust any lines that seem too thick or thin. You may need to darken some areas for better definition. Ensure the ball looks three-dimensional by shading the correct areas. This will make your baseball look more realistic.
Finally, clean up any stray marks or eraser residue. A clean drawing enhances the final look. Take your time during this step. It’s the small details that make a big difference.
Common Mistakes To Avoid
Drawing a baseball might seem simple, but there are common mistakes to avoid. These errors can make your drawing look less realistic. Let’s discuss some of these common pitfalls.
Incorrect Stitch Placement
The stitches on a baseball are crucial for realism. Incorrect placement can ruin the effect. Here are some tips to avoid this mistake:
- Observe a real baseball. Notice how the stitches curve.
- Draw light guidelines before finalizing the stitches.
- Keep stitches evenly spaced. Uneven stitches look unrealistic.
Using these tips can help you place the stitches correctly. This will make your baseball look more realistic.
Overdoing The Shading
Shading adds depth to your drawing. But overdoing it can make your baseball look dirty or unnatural. Follow these guidelines to avoid this error:
- Use a light touch. Start with light shading and build up gradually.
- Focus on key areas. Shade where shadows naturally fall, like under the stitches.
- Blend well. Harsh lines can look unnatural, so blend your shading smoothly.
Proper shading can enhance your drawing. It adds depth without overwhelming the viewer.
Final Touches And Presentation
Now that you’ve completed the main parts of your baseball drawing, it’s time to focus on the final touches and presentation. This step is crucial for making your drawing look polished and professional. Let’s dive into the final touches and presentation aspects to make your baseball drawing stand out.
Cleaning Up The Drawing
Start by erasing any unnecessary lines that may have been left during the sketching process. This helps in keeping the drawing clean. Use a soft eraser to avoid smudging your work. Make sure to erase gently to maintain the integrity of your lines.
Next, outline your drawing with a fine-tip pen or marker. This adds definition to your lines. Ensure your lines are smooth and even. If you prefer a more detailed look, use different pen thicknesses for varying line weights.
Consider adding shading and texture to your baseball. This gives it a more realistic appearance. Use hatching or cross-hatching techniques to create shadows and highlights. Focus on areas where light naturally hits and shadows fall.
Displaying Your Art
Once your drawing is complete, it’s time to think about how you want to display it. Here are a few ideas:
- Frame your drawing to protect it from damage and make it ready for hanging.
- Create a simple portfolio to store and showcase your artwork.
- Consider scanning and digitizing your drawing. This allows you to share it online or print copies.
- Make a custom baseball card with your drawing as the centerpiece.
Framing your art not only protects it but also gives it a professional finish. Choose a frame that complements your drawing and fits your style. If you prefer a modern look, go for a sleek, minimalistic frame. For a classic touch, opt for a wooden frame with intricate details.
If you decide to digitize your drawing, use a high-resolution scanner to capture every detail. This ensures that your artwork looks crisp and clear online. You can then share it on social media or include it in your digital portfolio.
Finally, a custom baseball card is a fun and unique way to showcase your drawing. You can design the card to include stats or a personal message. This adds a personal touch and makes your artwork even more special.
| Display Option | Benefits |
|---|---|
| Frame | Protects and enhances visual appeal |
| Portfolio | Organizes and showcases multiple artworks |
| Digitize | Easily shareable and printable |
| Custom Card | Unique and personal display method |
Frequently Asked Questions
What Materials Do I Need To Draw A Baseball?
To draw a baseball, you need paper, a pencil, an eraser, and colored pencils or markers. These materials will help you create a detailed and accurate drawing.
How Do I Start Drawing A Baseball?
Begin by drawing a simple circle. This forms the basic shape of the baseball. Make sure it’s as round as possible for accuracy.
How Do I Draw The Baseball’s Stitches?
Draw two curved lines across the baseball. Add small “V” shapes along the lines to represent the stitches. Keep them evenly spaced.
What Techniques Can I Use To Shade The Baseball?
Use light, consistent pencil strokes to shade. Focus on where light hits and shadows form. This adds depth and realism to your drawing.
Conclusion
Drawing a baseball can be fun and easy with practice. Start with a circle and add the stitching details. Use light pencil strokes for initial lines. Then, darken them once you’re happy with the shape. Practice makes perfect, so keep drawing.
Don’t worry about making mistakes. They help you improve. Share your drawings with friends and family. They’ll love seeing your progress. Remember, drawing should be enjoyable. Relax and let your creativity flow. Happy drawing!