Drawing a baseball bat can be easy and fun. It’s a great way to practice basic drawing skills.
Whether you’re a beginner or just looking for a simple project, this guide will help you create a realistic baseball bat. Art is a wonderful way to express yourself. Drawing a baseball bat is a perfect starting point for anyone interested in sports or art.
By following easy steps, you can create a piece that looks great. This activity can be relaxing and rewarding. Plus, it can boost your confidence in drawing. With just a few materials and some patience, you’ll have a baseball bat drawing that you can be proud of. Let’s get started and bring your drawing to life!
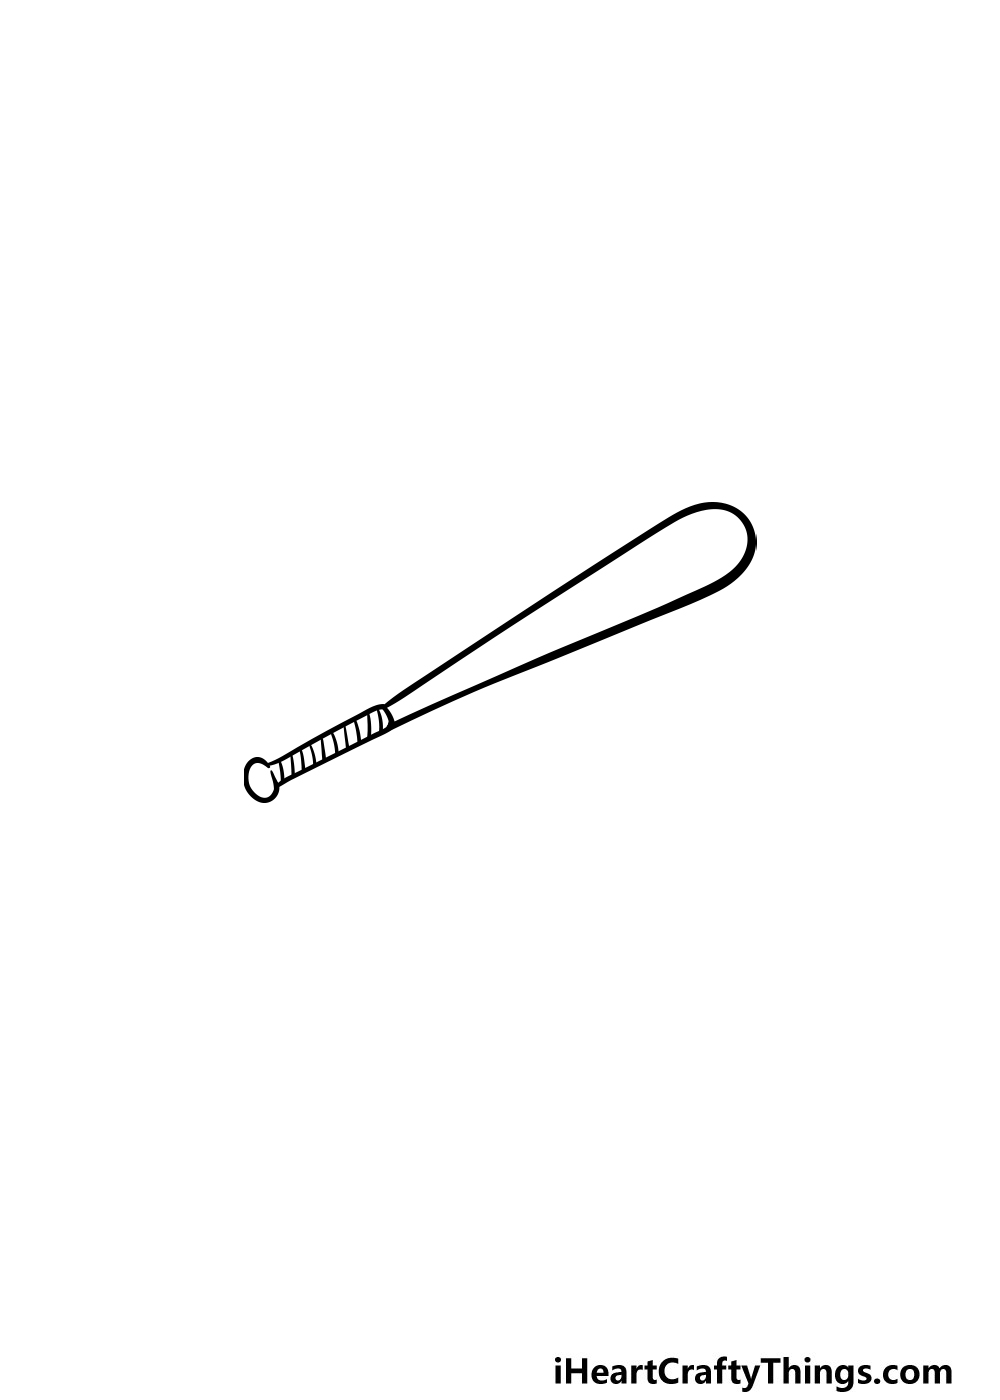
Credit: iheartcraftythings.com
Introduction To Baseball Bat Drawing
Learning to draw a baseball bat can be a rewarding experience for beginners. It is a simple yet fun activity. With the right guidance, you can create a perfect drawing. This section will help you understand the basics of drawing a baseball bat. Let’s dive in and start with the essentials.
Importance Of Basics
Understanding the basic shapes is crucial. A baseball bat consists of a cylinder with a tapering end. This makes it easier to break it down into simpler parts. Knowing the basics helps in creating accurate and proportionate drawings. It builds a strong foundation for more complex drawings in the future.
Materials Needed
Before starting, gather all the necessary materials. Here is a list of what you will need:
- Pencil: For sketching the basic shape.
- Eraser: To correct any mistakes.
- Ruler: For drawing straight lines.
- Paper: A blank sheet for your drawing.
- Colored Pencils: Optional, for adding color.
| Material | Purpose |
|---|---|
| Pencil | Sketching |
| Eraser | Correcting mistakes |
| Ruler | Drawing straight lines |
| Paper | Drawing surface |
| Colored Pencils | Adding color (optional) |
Having these materials ready will make your drawing process smooth and enjoyable. Now that you know what you need, you are ready to start drawing. Enjoy the process and have fun!
Setting Up Your Workspace
Create a comfortable workspace before starting your baseball bat drawing. Organize your materials for easy access. Ensure proper lighting.
Creating an ideal workspace is the first step in drawing a baseball bat easily. A well-organized area allows you to focus and work efficiently. It also keeps your materials within reach. Let’s dive into the essentials for setting up your workspace.
Choosing The Right Paper
Selecting the right paper is crucial for a smooth drawing experience. Choose a paper that is smooth and thick. This prevents smudging and tearing. A sketchpad with medium weight paper works best. Avoid thin or rough paper. It can affect your drawing quality.
Selecting Pencils And Erasers
Picking the right pencils and erasers is essential. Use a range of pencils. Start with a hard pencil (H) for light lines. Then, switch to a soft pencil (B) for shading and details. Keep a good eraser handy. A kneaded eraser is excellent for lightening areas. A vinyl eraser works well for precise corrections. With these tools ready, you can start your baseball bat drawing with confidence. Your workspace will enhance your creativity and focus. “`
Sketching The Basic Shape
Creating a baseball bat drawing can be simple and fun. Start by sketching the basic shape. This will help you get the proportions right. Follow these steps to create a great outline.
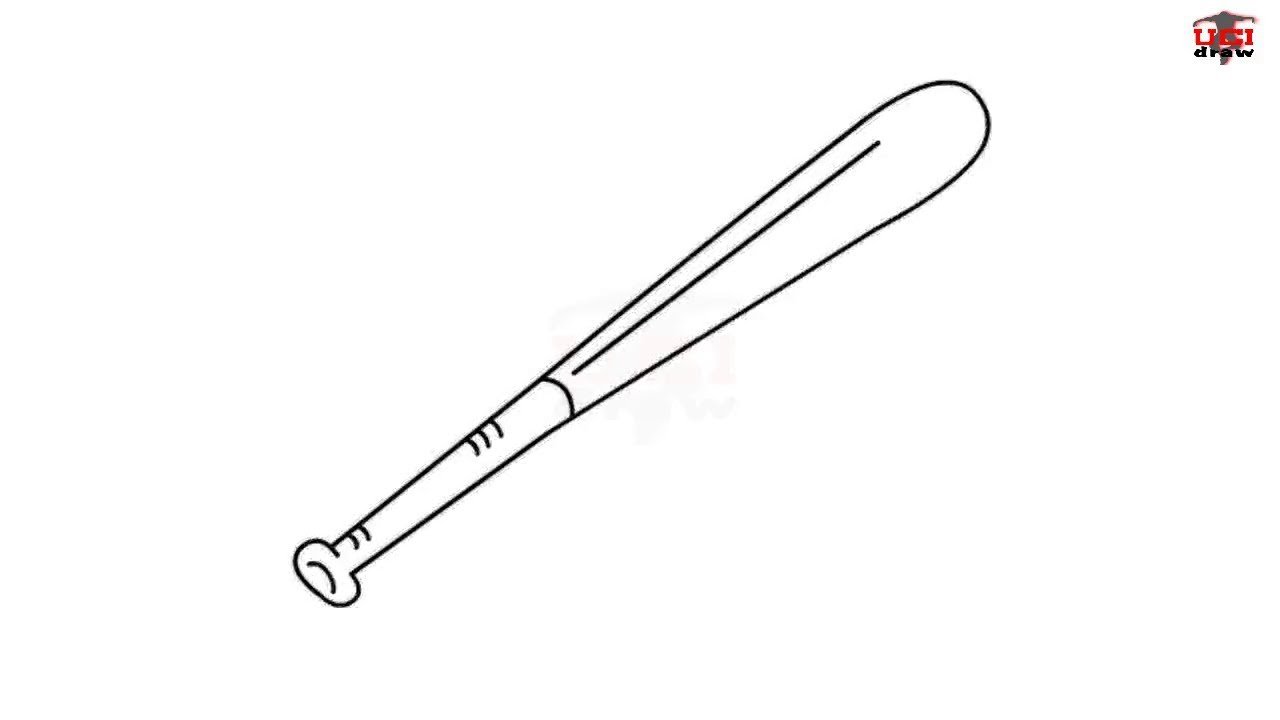
Drawing The Bat Outline
Begin with the bat outline. Draw a long, narrow oval for the bat’s body. This is the main part of the bat. Next, add a small circle at the bottom for the knob. This will be the handle. Connect the knob to the body with two straight lines.
Make sure the lines are smooth. The bat should look even. Keep your hand steady. This will help you draw clean lines. You can use a ruler if needed.
Defining Proportions
Defining proportions is crucial. The bat should look balanced. Divide the bat into three sections. The handle, the middle, and the barrel. The handle is the bottom part. It is the smallest section.
The middle section is slightly wider. It is about twice the size of the handle. The barrel is the top part. It is the largest section. Make sure each part is proportional.
Check your drawing. Make sure each section flows smoothly into the next. Adjust if needed. This will give your bat a realistic shape. You are now ready to add more details.
Adding Details To The Bat
Drawing a baseball bat can be simple. But adding details makes it realistic. This section will guide you through adding those essential details. Follow these steps to make your bat look professional and detailed.
Creating The Handle
Start with the handle. Draw a small, thin rectangle. This rectangle connects to the main bat. It should be about one-third of the bat’s length. Make sure it is straight and even.
Add texture by drawing small lines. These lines should run parallel to the handle. This gives the handle a grip-like look. Avoid making the lines too dark.
Shaping The Barrel
The barrel is the thicker part of the bat. Begin by shaping it into a smooth, rounded form. Ensure the end is slightly wider than the handle.
Next, add some shading. Lightly shade the lower part of the barrel. This creates a shadow effect. It makes the bat appear three-dimensional. Use soft strokes for a natural look.
Add a few more lines to the barrel. These lines should curve slightly, following the shape. This will enhance the bat’s realistic appearance. Keep the lines subtle and light.
Refining The Drawing
Refining your baseball bat drawing can make it look more professional. This section will guide you through the steps to smooth out lines and enhance curves. These tips will help you create a clean and appealing baseball bat drawing.
Smoothing Lines
To smooth lines, use a finer pen or pencil. This helps to remove any rough edges. Trace over your initial sketch. Make sure your lines are even and clean. Erase any extra marks carefully. This will give your drawing a polished look.
Here’s a simple table to help you understand which tools to use:
| Tool | Purpose |
|---|---|
| Fine Tip Pen | For clean, sharp lines |
| Kneaded Eraser | To remove sketch marks |
Enhancing Curves
Next, focus on enhancing the curves of the bat. Curves make your drawing look realistic. Pay special attention to the barrel and handle. Use smooth, continuous strokes. This will add depth and dimension.
Here are some quick tips to keep in mind:
- Draw lightly first, then darken.
- Practice on a separate sheet.
- Use a reference image for accuracy.
Enhancing curves can be tricky at first. With practice, it becomes easier. Your drawing will look more lifelike and detailed.

Credit: www.youtube.com
Shading Techniques
Shading is a vital part of any drawing. It adds depth and realism to your artwork. Knowing how to shade a baseball bat can make your drawing stand out. This guide will teach you easy shading techniques. Let’s dive into the basics of shading.
Understanding Light And Shadow
Before you start shading, it’s important to understand light and shadow. Imagine where the light source is. This will guide you on where to place shadows.
Here are some key points:
- Highlight: The brightest part of the object. It’s where the light hits directly.
- Mid-tone: The area between the highlight and the shadow.
- Core shadow: The darkest part of the object. It’s farthest from the light source.
- Cast shadow: The shadow that the object casts on a surface.
Understanding these elements will help you shade better. Let’s move to applying these concepts.
Applying Shading
Now that you know the basics, it’s time to apply shading to your baseball bat drawing.
- Identify the light source: Decide where the light is coming from.
- Highlight: Lightly shade where the light hits the bat.
- Mid-tone: Shade the area between the highlight and shadow. Use smooth strokes.
- Core shadow: Darken the area opposite the light source.
- Cast shadow: Draw the shadow the bat casts. Make it light near the bat and darker as it moves away.
Using these steps will give your bat a realistic look. Practice these techniques to improve your shading skills.
Adding Final Touches
In this section, we will focus on adding the final touches to your baseball bat drawing. This step brings your artwork to life. It makes your drawing stand out. Let’s dive into the details!
Highlighting Details
Now, let’s add some final details to your drawing. Start by highlighting the areas where light hits the bat. Use a lighter shade to add these highlights. This creates a realistic look. Don’t overdo it; a few highlights will suffice.
Next, focus on the shadows. Use a darker shade to show the shaded areas. This adds depth and dimension to your baseball bat. Place shadows under the bat and on one side. This will make the drawing look more 3D.
Cleaning Up The Drawing
Once you’ve added the details, it’s time to clean up your drawing. Erase any unwanted pencil marks. Make sure the lines are neat and sharp. This will give your drawing a polished look.
If you used colored pencils, make sure the colors are even. You can blend the colors with a blending tool or a tissue. This will smooth out any rough spots.
Here’s a quick checklist to ensure your drawing is complete:
- Highlights added
- Shadows in place
- Unwanted marks erased
- Lines are sharp
- Colors blended well
By following these steps, your baseball bat drawing will look amazing. Enjoy the process and have fun drawing!
Common Mistakes To Avoid
Avoid pressing too hard with the pencil; light strokes work best. Keep proportions accurate, especially the bat’s length and width.
Drawing a baseball bat can be fun and easy. However, there are some common mistakes that many beginners make. Avoiding these mistakes will improve your drawing skills. Let’s explore some of these mistakes and how to avoid them.
Incorrect Proportions
One common mistake is incorrect proportions. A baseball bat has a specific shape. The handle is thin, and the barrel is thick. Many beginners draw the handle too thick or the barrel too thin. This makes the bat look unrealistic. Use a reference image to get the proportions right. Measure the handle and barrel carefully. This will help you draw a more accurate bat.
Over-shading
Another mistake is over-shading. Shading adds depth and realism to your drawing. But too much shading can ruin it. Beginners often shade too heavily. This makes the bat look dirty or messy. Use light strokes when shading. Focus on areas that need shadow, like the curve of the barrel. Keep your shading even and smooth. This will make your bat look more natural and clean.
Practice Exercises
Practice exercises help improve your baseball bat drawing skills. By working on different exercises, you can develop a better understanding of shapes and details. This section will guide you through simple and advanced exercises. Let’s get started!
Simple Bat Shapes
Start with basic shapes to draw a baseball bat. Begin with a straight line for the bat’s length. Next, draw a slightly curved line parallel to the first line. Connect the ends of both lines to form the bat’s outline.
Add details to the outline. Draw a small oval at the bat’s top for the knob. Add a larger oval at the bat’s bottom for the barrel. Practice this until you feel comfortable with the basic shape.
Advanced Bat Designs
Ready for more detail? Try adding texture to your bat. Draw small, curved lines along the bat’s body to show wood grain. This makes the bat look more realistic. Practice shading to add depth and dimension.
Next, focus on perspective. Draw the bat from different angles. This helps you understand its three-dimensional shape. Draw a bat leaning against a wall or lying on the ground. These exercises improve your drawing skills.
Keep practicing to enhance your skills. The more you draw, the better you become. Remember, practice makes perfect!

Credit: helloartsy.com
Frequently Asked Questions
How To Draw A Baseball Bat Easily?
To draw a baseball bat easily, start with a long, narrow oval for the barrel. Add a smaller oval for the handle. Connect them with straight lines and add details.
What Materials Are Needed For A Baseball Bat Drawing?
You need basic materials such as paper, pencil, eraser, and colored pencils or markers to draw a baseball bat.
Are There Any Tips For Shading A Baseball Bat?
For shading, use light strokes for highlights and darker strokes for shadows. This adds depth and realism to your drawing.
Can Beginners Draw A Baseball Bat?
Yes, beginners can draw a baseball bat by following simple steps and practicing regularly. Start with basic shapes and gradually add details.
Conclusion
Drawing a baseball bat can be easy with practice. Follow the steps above. Keep your lines smooth and proportions correct. Soon, your drawings will improve. Show your work to friends and family. Enjoy the process and have fun. Drawing can be relaxing and rewarding.
Give it a try today. Happy drawing!