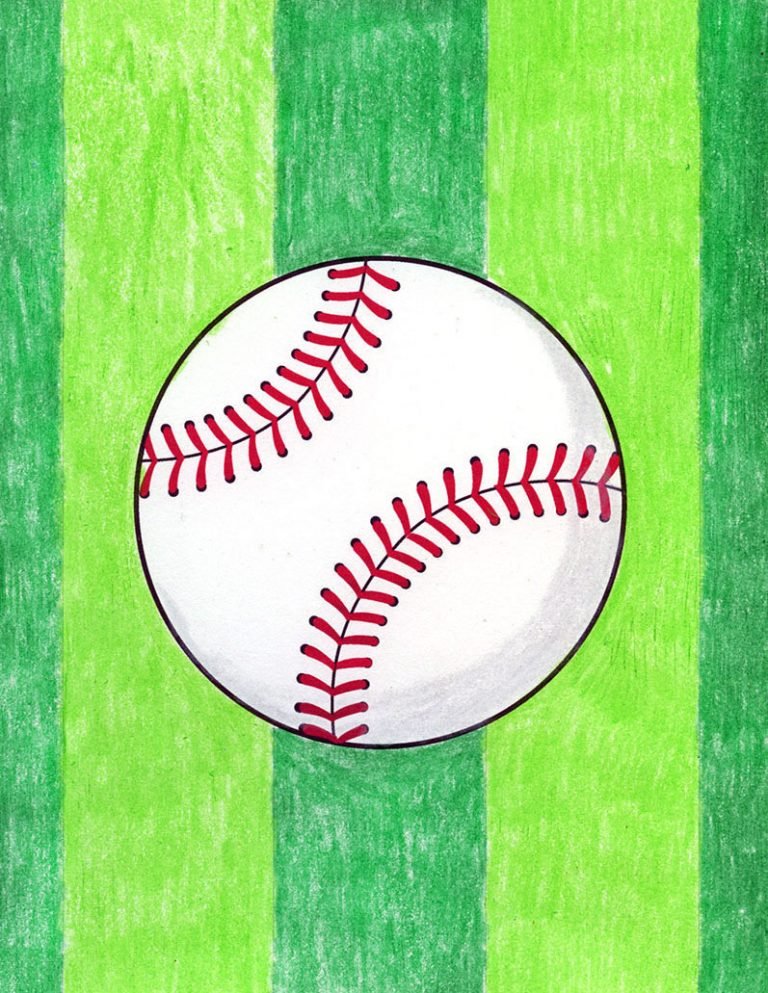
Drawing a baseball is easier than you think. You only need a few steps.
Learning how to draw a baseball can be a fun activity for all ages. Whether you’re a beginner or have some drawing experience, this guide will help you create a realistic baseball. Baseballs have simple yet distinct features. Capturing these features can make your drawing look impressive.
You’ll need basic drawing tools like a pencil, eraser, and paper. Through this guide, we will break down each step, making it simple to follow. By the end, you will have a detailed baseball drawing to show off. Let’s get started and bring your baseball to life on paper!
Credit: www.youtube.com
Materials Needed
Drawing a baseball can be a fun and rewarding experience. To get started, you need the right materials. Below are the essential supplies and optional tools you might find helpful.
Essential Supplies
These are the must-have items for drawing a baseball:
- Paper: Use a blank sheet of paper for your drawing.
- Pencil: A good quality pencil is necessary for outlining.
- Eraser: Mistakes happen. An eraser helps you correct them.
- Ruler: A ruler ensures straight lines and accurate measurements.
- Colored Pencils or Markers: These add color and life to your drawing.
Optional Tools
These tools can enhance your drawing experience:
- Blending Stump: This tool helps in shading and blending pencil marks.
- Compass: A compass is useful for drawing perfect circles.
- Sharpener: Keep your pencils sharp for detailed work.
- Sketchbook: A sketchbook keeps all your drawings in one place.
- Lightbox: Use a lightbox for tracing and refining your sketches.
Having the right materials makes drawing a baseball easier and more enjoyable. Gather your supplies and start creating your masterpiece today!
Basic Shapes
Drawing a baseball can be fun and straightforward. The key is to start with basic shapes. These shapes will form the foundation of your baseball drawing. Let’s break it down into simple steps that anyone can follow.
Drawing Circles
Begin with a simple circle. This will be the outline of the baseball. Keep it as round as possible. You can use a compass or trace around a round object. This will help you get a perfect circle. A neat circle makes the baseball look more realistic.
Connecting Lines
Now, add the stitching lines. These lines give the baseball its unique look. Draw two curved lines across the circle. They should curve in opposite directions. This will represent the seams of the baseball. The lines do not need to be perfect. Real baseballs have uneven stitches.
Next, add the small stitch marks along the curved lines. Draw short lines at regular intervals. These lines should follow the curve of the seam. Make sure they are evenly spaced. This will complete the basic shape of your baseball.
Sketching The Baseball
Sketching a baseball can be a fun and easy task. With just a few steps, you can create a realistic baseball drawing. This section will guide you through the process. Let’s start by outlining the shape and adding guidelines.
Outline The Shape
Begin by drawing a simple circle. This will be the shape of your baseball. Ensure the circle is as round as possible. You can use a circular object to trace if needed. Keep the lines light so you can erase easily.
Add Guidelines
Next, draw two curved lines across the circle. These lines will form the seams of the baseball. The first line should curve from the top left to the bottom right. The second line should curve from the top right to the bottom left. These lines should intersect near the middle of the circle.
The guidelines will help you place the stitches later. Make sure the curves are smooth and even. Lightly sketch these lines so they can be adjusted if necessary.

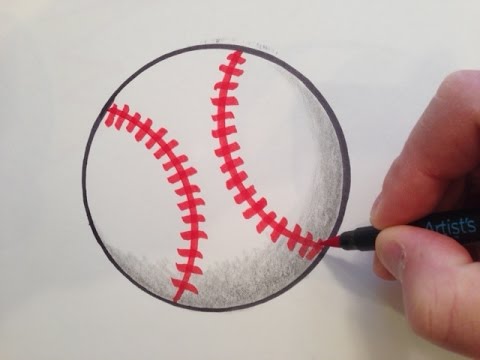
Credit: www.youtube.com
Detailing The Seams
Detailing the seams of a baseball is an essential step in creating a realistic drawing. These seams add texture and depth, making the baseball look more authentic. In this section, we will explore how to draw curved lines and create symmetry to achieve a professional-looking baseball drawing.
Drawing Curved Lines
Start by drawing two curved lines that cross each other. These lines represent the stitches of the baseball. Make sure the curves are smooth and even. Use light pencil strokes at first. This helps in making adjustments as needed.
Next, add small, evenly spaced dashes along each curved line. These dashes represent the stitches on the baseball. Keep the dashes consistent in length and spacing. This adds to the realism of your drawing.
Refer to the table below for a quick guideline on the spacing and length of the dashes:
| Stitch Length | Stitch Spacing |
|---|---|
| 5 mm | 3 mm |
Creating Symmetry
Symmetry is crucial in making your baseball drawing look balanced. To achieve this, ensure both curved lines mirror each other. Use a ruler or straight edge to check the symmetry of your lines.
Draw a light guideline down the center of the baseball. This will help you place the curved lines evenly on both sides. Use this center line as a reference to adjust your curves and stitches.
Finally, erase the guidelines once you’re satisfied with the symmetry. This will leave you with a clean and balanced drawing of the baseball seams.
By paying attention to the details of the seams, you can create a baseball drawing that looks realistic and professional. Remember to keep your lines smooth and your stitches consistent for the best results.
Adding Texture
Adding texture to your baseball drawing brings it to life. Texture gives your drawing depth and realism. It helps the viewer feel the surface of the baseball.
Shading Techniques
Shading is key to creating texture. Use light, gentle strokes for softer areas. For darker, rougher spots, press harder with your pencil.
Try cross-hatching for a more textured look. Cross-hatching involves drawing intersecting lines. Vary the direction of your strokes for added depth.
Blend your shading with a smudge stick. This tool helps smooth out your shading. It makes the texture appear more natural.
Highlighting Areas
Highlights add another layer of texture. Identify the light source in your drawing. The light source determines where the highlights will be.
Use an eraser to create highlights. Lightly erase areas where light hits the baseball. This technique makes the surface look shiny.
Consider using a white pencil for finer highlights. This works well on darker shaded areas. It helps the baseball stand out more.
Remember to keep the highlights subtle. Too much highlight can make the drawing look unrealistic. Balance is key in creating a textured look.
Enhancing Realism
Enhancing realism in your baseball drawing can make it more lifelike. This involves paying attention to depth, perspective, and fine-tuning details. Making your drawing look realistic requires practice and observation. Let’s dive into some tips to achieve this.
Depth And Perspective
Adding depth and perspective is key to a realistic drawing. Start by considering the position of the baseball. Is it in motion or still? Draw light guidelines to map out the ball’s position and movement. Use these lines to guide your shading and highlights.
Shading is crucial for depth. Identify where the light source is. Shade the opposite side of the light source to create shadows. Lighter areas will be where the light hits directly. This contrast gives the ball a three-dimensional look.
Perspective changes how we see objects. If the baseball is closer, it appears larger. If it’s farther away, it appears smaller. Adjust the size and details accordingly. Use smaller, finer lines for distant parts. Use thicker, bolder lines for closer parts.
Fine-tuning Details
Details make a big difference in realism. Observe a real baseball closely. Notice the stitching pattern. Draw the stitches carefully, following the curvature of the ball. Each stitch should look even and consistent.
Texture is another important detail. Baseballs have a slightly rough surface. Add small dots and lines to mimic this texture. Don’t overdo it, though. Keep it subtle to maintain a clean look.
Lastly, refine the edges of your drawing. Smooth out any rough lines. Make sure the outline of the baseball is round and clean. This final touch enhances the overall realism of your drawing.
Common Mistakes
Drawing baseball can be fun, but beginners often make common mistakes. These errors can make the drawing look off or unnatural. Understanding and avoiding these mistakes can help improve your artwork. Let’s discuss some of the most common mistakes and how to fix them.
Avoiding Flatness
One common mistake is drawing a flat baseball. A real baseball is round and has depth. To make your baseball look more realistic, focus on shading. Use light and dark areas to create a sense of volume. Imagine where the light hits the ball and where the shadows fall. This technique will make your drawing appear more three-dimensional.
Correcting Proportions
Another mistake is incorrect proportions. A baseball has a specific shape and size. Sometimes, beginners draw the stitches too big or small. This can make the ball look odd. Pay attention to the details. The stitches should be evenly spaced and follow the curve of the ball. Also, make sure the baseball is not too large or small in comparison to other objects in your drawing.
Practice Tips
Drawing baseball scenes can be challenging but also rewarding. With consistent practice, you can improve your skills and create stunning illustrations. Here are some practice tips to help you draw baseball more effectively.
Daily Exercises
Practice drawing every day. Even short sessions help. Start with basic shapes. Draw circles, squares, and lines. These forms make up most objects, including baseball equipment and players. Focus on drawing clean lines. Avoid messy sketches. Try to complete one small drawing each day.
Work on different parts of a baseball scene. Draw a baseball bat today. Sketch a glove tomorrow. Practice drawing players in different poses. This helps you understand their anatomy and movement.
Using References
References are valuable tools. Use photos of baseball games. Watch videos to see how players move. Study the details of their uniforms and equipment. This will improve your accuracy.
Analyze professional baseball illustrations. Notice how artists capture movement and emotion. Try to replicate their techniques. This helps you learn and develop your own style. Remember, the more you practice, the better you will get.
Frequently Asked Questions
What Materials Do I Need To Draw A Baseball?
To draw a baseball, you’ll need paper, a pencil, an eraser, and colored pencils or markers.
How Do I Start Drawing A Baseball?
Start by drawing a simple circle. This will be the outline of the baseball.
How Do I Draw The Baseball’s Stitching?
Draw two curved lines inside the circle. Add small, evenly spaced V shapes along the lines.
How Can I Add Shading To My Baseball Drawing?
Shade around the edges of the baseball lightly. This gives it a three-dimensional look.
Conclusion
Drawing a baseball can be fun and rewarding. Follow simple steps to create an accurate image. Practice regularly to improve your skills. Use reference images to guide your work. Pay attention to details like stitches and shading. Remember, patience is key.
Don’t rush the process. Enjoy the creative journey. Soon, you’ll notice improvement in your drawings. Keep practicing and stay motivated. Drawing can be a relaxing hobby. Share your artwork with friends and family. They will appreciate your effort and progress.
Happy drawing!